
How to use custom commands bot
Basic usage of slash commands bot to start using this bot
Md Shahriyar Alam
2 years ago
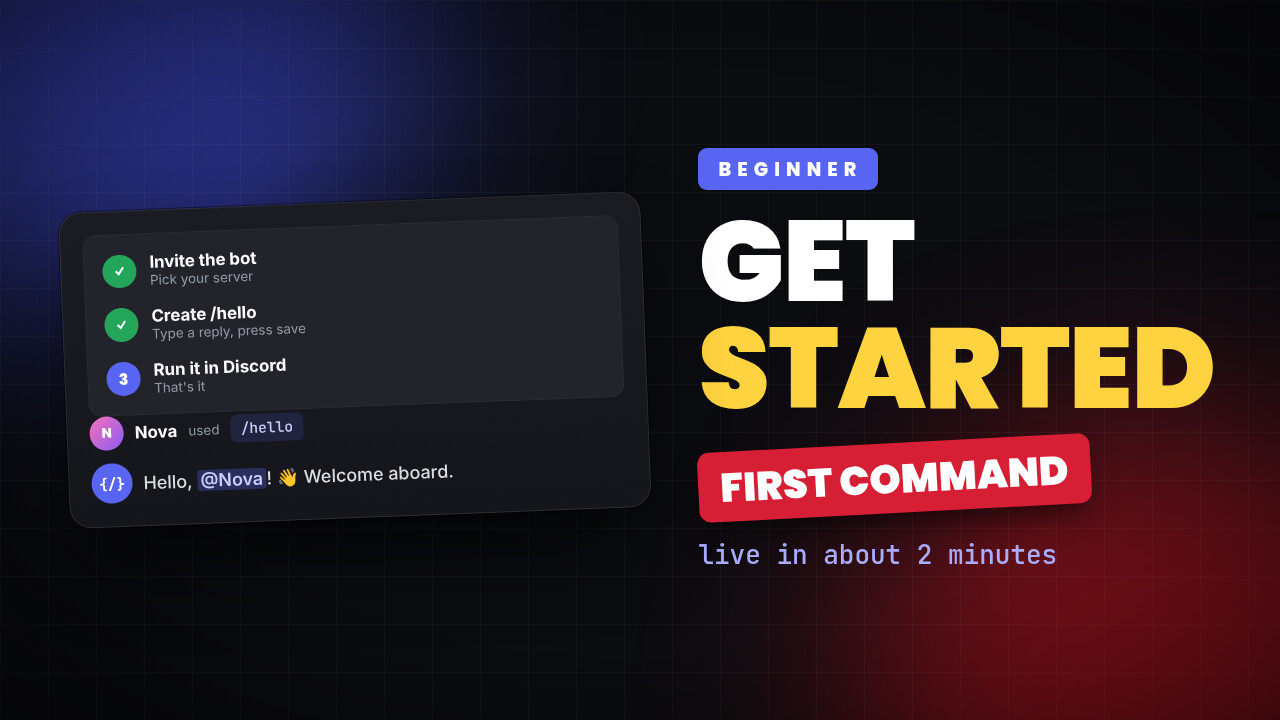
Custom commands let your Discord server do exactly what you want it to do, instead of whatever a pre-built bot decided for you. With Custom Commands Bot you create a custom command from a dashboard, and it appears in your server moments later — no hosting, no deploy pipeline, no discord.py boilerplate.
This guide covers everything: creating your first custom Discord command, adding arguments, responding with embeds, and running your own logic on top.
Time to your first custom command: about five minutes.
Quick Answer: How Do You Create Custom Commands in Discord?
To create custom commands in Discord you need a bot that supports them. With Custom Commands Bot the process is:
- Invite the bot to your Discord server (keep the
applications.commandsscope). - Open the dashboard and select your server.
- Go to Create → Slash Command.
- Fill in a name, description, and response.
- Click Create Command, then Sync Now.
Your custom command is now live — type / in your server to run it. The rest of this guide expands each step and shows what else custom commands can do.
What You Can Build With Custom Commands
Before the walkthrough, here's the range of what custom Discord commands can cover.
| You want to… | Use |
|---|---|
A /rules command that posts a formatted embed | Custom command + Embed |
A command that takes input (/ban @user reason) | Custom command arguments |
| Something that reacts when a member joins | Event handler |
| Reusable logic shared across custom commands | Scripts |
| A command that reads or writes stored data | Databases + code hooks |
| Buttons, dropdowns, galleries, layouts | Components V2 |
| Something that runs on a schedule | Jobs |
All of it is configured from the dashboard. Custom commands that need real logic can run small Python snippets in a sandbox — but plenty of useful commands need no code at all.
Step 1: Invite the Bot to Your Discord Server
Open the invite link from the dashboard and pick the server where you want custom commands.
Two things to get right:
- You need Manage Server permission on that Discord server, or it won't appear in the list.
- Don't strip the requested permissions. The bot asks for
applications.commands— without it, custom slash commands cannot be registered with Discord at all, and nothing else in this guide will work.
Once invited, the server appears in your dashboard sidebar. Select it. Everything from here applies to that specific server.
Step 2: Create Your First Custom Command
In the sidebar, go to Create → Slash Command.
Only three fields matter to start:
Name — what members type after the slash. Lowercase, no spaces, max 32 characters. hello, serverinfo, rules.
Description — the hint Discord shows in the command picker. Max 100 characters. Write it for someone who has never used your server: "Show the server rules" beats "rules cmd".
Response — what the bot replies. Plain text is fine for now.
Leave everything else empty and click Create Command.
That's a working custom command. It just isn't live yet — which brings us to the step most people miss.
Step 3: Sync Your Custom Commands With Discord
After saving, a Sync Now button appears. Click it.
Why syncing exists: Discord doesn't fetch your custom commands on demand. Every command's name, description, and arguments must be registered with Discord ahead of time. Syncing is that registration.
What it means day to day:
- Changed a name, description, or argument? → Sync required.
- Changed only the response or code? → No sync needed. It's live instantly.
That distinction saves a lot of time. You can iterate on logic endlessly with zero sync round-trips; only a custom command's public shape needs registering.
Tip: turn on Auto-Sync in Settings and this happens automatically whenever the shape changes. Most servers should leave it on.
Now type / in your server. Your custom command is there. Run it.
If it isn't, jump to troubleshooting.
Step 4: Add Arguments to Your Custom Commands
Static commands get old fast. Arguments are what make custom Discord commands genuinely useful.
In the command form, add an option and choose its type:
- String — free text. Can be limited to a choice list or driven by autocomplete.
- Integer / Number — with optional min and max bounds.
- User, Channel, Role, Mentionable — Discord picks these for the member, so they're always valid.
- Boolean — a true/false toggle.
- Attachment — a file upload.
Mark an argument required and Discord won't let anyone submit the command without it. That's free validation — use it instead of checking for missing input in code.
Ordering matters: required arguments must come before optional ones. Drag to reorder.
A worked example — a /warn custom command:
| Argument | Type | Required |
|---|---|---|
user | User | ✅ |
reason | String | ✅ |
silent | Boolean | ❌ |
Discord now enforces that shape before your logic ever runs.
Changing arguments changes the command's shape — so sync after this.
Step 5: Respond With Embeds and Components
Plain text works. Embeds look like you meant it.
Saved Embeds
Build an embed once under Embeds, then load it from any custom command:
embed = load_embed(123)Edit that embed later and every custom command using it updates — no hunting through commands to change one colour.
Components V2
For richer layouts, build a Components V2 setup — containers, sections, thumbnails, galleries, separators, buttons, and select menus — then load it the same way:
components = load_components(456)Both loaders substitute variables at runtime, so one saved layout renders differently per user, per server, per invocation.
Buttons
Two kinds:
- Link buttons — open a URL. Zero setup.
- Interactive buttons — carry a
custom_id. When someone clicks, an interaction event fires and you decide what happens in an event handler.
That's the pattern behind menus, confirmations, ticket panels, and role pickers.
Step 6: Run Your Own Code
Every custom command has two optional code slots:
- Pre code — runs before the response is sent. Compute values, fetch data, validate input, or decide the response.
- Post code — runs after. Logging, follow-ups, DMs, cleanup.
The code is Python, executed in a sandbox with helpers for the things you actually need — sending messages and DMs, managing roles, loading embeds and components, and reading your databases.
Example — gating a custom command in pre code:
if not ctx.member.get_roles():
    await ctx.respond("You need a role to use this.")
    return
Why the split matters: pre code shapes the reply, post code reacts to it. Keeping them separate means a slow follow-up never delays what the member sees.
Code limits by plan:
| Plan | Characters per hook |
|---|---|
| Free | 3,000 |
| Premium | 10,000 |
| Premium + Code Extender add-on | 15,000 |
The Code Extender add-on is a one-time purchase that raises the ceiling for every custom command, event, and script in the server.
Step 7: Use Variables in Custom Commands
Variables drop live values into responses without writing any code:
- Server details — name, member count, boost level
- The invoking user
- Channel context
- Your own custom variables
Open the Variables panel while editing a response to see everything available and copy the exact token. Variables work in plain responses, embeds, and Components V2 layouts alike.
Beyond Custom Slash Commands
Custom commands are the entry point, not the ceiling.
Text commands — prefix-triggered (default ..). Good for quick staff utilities where a slash command feels heavy. No registration, so no syncing.
Event handlers — run code on Discord events: member joins, messages, reactions, button clicks, modal submissions. Welcome messages, auto-roles, logging, and interactive components live here.
Scripts — shared functions written once and called from multiple custom commands and events. The cure for copy-pasted logic.
Jobs — scheduled tasks. Daily posts, periodic cleanup, recurring reminders.
Databases — store and query data per server so your custom commands remember things between runs.
Command groups — nest related custom commands under one parent (/config set, /config view) to keep a large server's command list navigable.
Polish Worth Applying
Small settings that make custom commands feel professional:
Ephemeral — the reply is visible only to the person who ran the command. Right for anything private or noisy.
Auto-defer — if a custom command does slow work, deferring tells Discord "answer coming" so it doesn't time out at the three-second mark. Enable it for anything hitting a database or external service.
Default permissions — restrict a custom command to members with specific Discord permissions. Discord enforces this before your code runs, which is safer and clearer than a manual check.
Cooldowns — rate-limit per user so nobody can spam an expensive command.
Troubleshooting Custom Commands
| Symptom | Cause | Fix |
|---|---|---|
Custom command doesn't appear after / | Not synced | Click Sync Now; enable Auto-Sync |
| Still missing after syncing | Missing applications.commands scope | Re-invite the bot with full permissions |
| Command appears but errors | Something in pre/post code | Open Logs → Error Logs for the traceback |
| Response edits don't show | Cached Discord client | Restart Discord (Ctrl+R) |
| "Sync required" won't clear | Bot can't register right now | Check the bot is online and still in the server |
| Command times out | Slow work, no defer | Enable Auto-defer |
Error Logs are the first place to look when a custom command misbehaves. Failures in your code are captured with the exact line rather than failing silently in Discord.
Frequently Asked Questions
What are custom commands in Discord?
Custom commands are Discord slash commands that you define yourself — the name, the arguments members fill in, and what the bot does in response. Unlike a fixed-feature bot, custom commands let a server build exactly the behaviour it needs.
Can you create custom commands in Discord without coding?
Yes. A custom command with a text or embed response needs no code at all — just a name, a description, and a response. Code hooks are optional, for when you want logic like conditions, database lookups, or role changes.
Why don't my custom commands show up in Discord?
Almost always one of two reasons: the command hasn't been synced, or the bot was invited without the applications.commands scope. Click Sync Now, and if it's still missing, re-invite the bot with full permissions.
How many custom commands can I create?
That depends on your plan. Free servers get a starter allocation, and paid plans raise the limit substantially — see the premium plans for the current numbers.
Do I need to host anything to use custom commands?
No. Custom commands run on our infrastructure. There's no server to rent, no process to keep alive, and no deployment step — saving a command is the deployment.
What's the difference between custom slash commands and text commands?
Custom slash commands are registered with Discord, appear in the / picker with argument hints, and require syncing after shape changes. Text commands are triggered by a prefix (default ..), don't appear in Discord's UI, and never need syncing.
Your First Hour With Custom Commands
- Invite the bot and confirm it's online.
- Create one no-code custom command (
/rules). Sync. Run it. - Turn on Auto-Sync so syncing stops being something you remember.
- Build an embed and load it with
load_embed. - Add an argument to a custom command and sync again — watch Discord enforce the shape.
- Write one pre-code hook, break it deliberately, and read the error in Error Logs.
After that, everything else is a variation on three ideas: shape (arguments), response (text, embeds, components), and logic (hooks, events, scripts).
Getting Started
Custom commands turn a Discord server from something you configure into something you design. Start with one — a /rules command that posts a clean embed — and build outward from there.
Stuck, found a bug, or want a feature that doesn't exist yet? Join the support Discord. Questions and suggestions land in the same place, and requests from real servers shape the roadmap.
Now go build a custom command your members will actually use.
Loading comments…